Homeowners often underestimate how small errors in device setup can cause big risks. Improperly mounted electrical units can trip residents, damage cords, or lead to fires when cables hide under rugs or sit near moisture. InterNACHI flags faulty installations as a common source of household electrical hazards.
Simple steps like choosing the right wall mount and keeping cords visible cut hazards dramatically. When someone mounts power strip units incorrectly, they expose lines to wear and damp conditions that invite failures.
This introduction outlines why correct mounting matters and how one careful step can protect devices and people. The article will show practical mounting techniques and quick safety checks to keep a home safe and organized.
The Importance of Proper Power Strip Placement
A stable, well-organized outlet unit is central to device reliability and office safety. A secure setup keeps devices powered without interruptions and reduces accidents in a busy workspace.
OSHA recommends keeping workstations orderly to prevent electrical incidents. Using a quality power strip desk solution helps keep outlets accessible while protecting cords and cables from wear.
When they mount a strip desk unit correctly, users prevent strain that can cause equipment failure. Routing cable runs away from foot paths also lowers trip risks and damage to plugs.
Simple habits—choosing durable strips, keeping outlets visible, and grouping device connections—create safer, more efficient space. These steps support reliable use of all electronic equipment.
- Manage multiple devices with high-quality strips to protect circuitry.
- Keep cords tidy to extend cable life and reduce hazards.
- Design desk layouts so outlets remain reachable and uncluttered.
Essential Tools and Materials for Installation
Gathering the right tools and hardware makes installation faster and safer. A short checklist prevents mistakes and ensures the unit stays secure on the wall.
Basic Hand Tools
Start with common tools: a screwdriver, a level, and a tape measure. These help align mounting holes and verify the length of the cord will reach the outlet.
- Check the cord length; NACHI recommends between 1.5 and 25 feet.
- Use a pencil to mark holes before you drill or drive screws.
- Keep a small drill bit on hand for pilot holes when required.
Specialized Mounting Hardware
Choose the product that suits the surface. Wall anchors add strength on drywall and prevent screws from loosening during daily use.
Adhesive strips work well for lightweight units on clean surfaces and avoid drilling holes. For heavier units, use the correct screws with anchors for a durable mounting.
Quick tips: confirm compatibility with your wall, follow manufacturer instructions, and test the attachment before connecting multiple devices.
Reliable Methods for Mounting Power Strips
Begin by deciding whether screws, adhesive, or reusable fasteners best suit the surface and usage needs.
Using screws and anchors: For a permanent hold, drill pilot holes and insert wall anchors before driving in screws. Mark holes carefully; when using the KLAPiT system, place a mark 1.3 cm left of the right edge for accurate alignment.
Adhesive and tape options: Adhesive steel tape and heavy-duty tape let users mount without drilling holes. Clean the back of the unit and the wall surface thoroughly first. After applying adhesive, wait at least 60 minutes before plugging in devices to let the bond strengthen.
Utilizing Velcro for flexibility: Hook-and-loop fasteners provide a removable option that leaves minimal marks. This method suits light duty areas and makes it simple to remove the unit for cleaning or reconfiguration.
- Use wall anchors for heavier loads.
- Keep marks and holes level so the unit sits flush.
- Choose the mounting option that fits the surface and intended use.
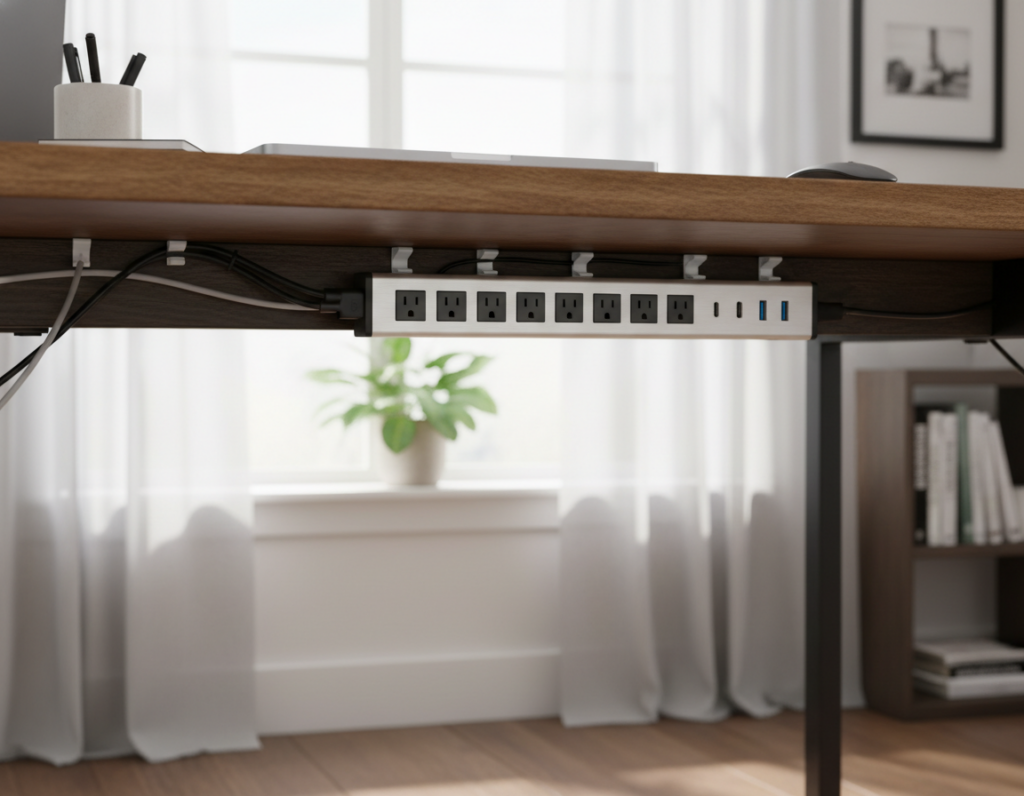
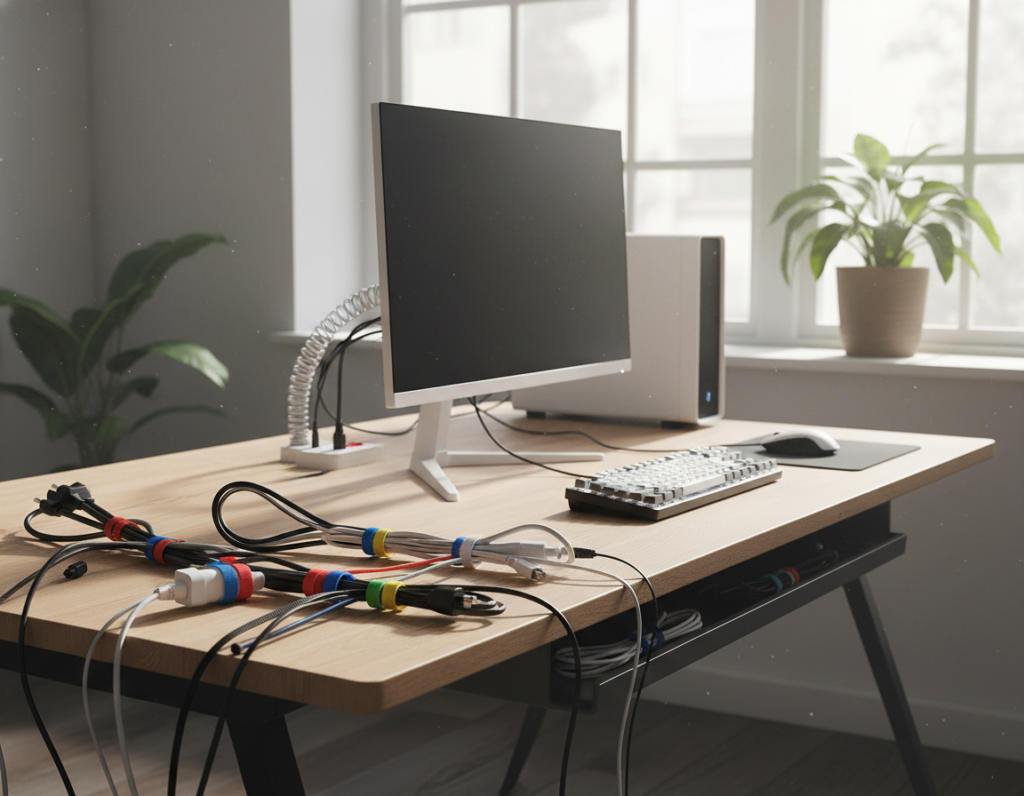
Techniques for Under Desk Cable Management
Under-desk routing keeps cables out of sight and reduces stress on connections when furniture moves. A few focused methods make a big difference for a sit-stand desk.
Creating a Service Loop for Standing Desks
Create a 20–30 cm service loop in the main power strip cord to allow smooth vertical travel. This step prevents strain on plugs and extends cord life.
“A short service loop absorbs movement and protects plugs from tugging during height changes.”
Secure the loop and all cable runs to the underside of the desk. Use adhesive-backed clips or reusable ties for a tidy finish. For heavier setups, fasten the unit and clips with screws into a strong surface.
- Anchor cables: adhesive clips keep cords from dangling and snagging on legs.
- Route along the back: run cables near the back edge to hide them and free workspace.
- Protect plugs: leave slack at device ends so plugs are not stressed when the desk moves.
Final step: test movement before connecting many devices. Proper mounting and organized cable runs keep the table area safe and functional.
Safety Precautions to Prevent Fire Hazards
A few routine checks can stop overloaded circuits and reduce home electrical hazards.
Know the limits: a standard home office unit is usually rated at 15 amps, which equals about 1800 watts at 120 volts. Do not exceed that rating when several devices run at once.
Choose the right protector: for a typical workstation, pick a surge protector with at least 1500–2000 joules to shield sensitive equipment like computers and monitors.
- Ensure any strip is rated for 1800 watts or higher before connecting multiple devices.
- Avoid use in areas exposed to moisture, such as bathrooms or beside sinks.
- Limit the number of devices plugged in to reduce the chance of overheating.
- Inspect strips and cords regularly for fraying, discoloration, or heat buildup.
Follow standards: choose desk systems and components that meet UL 962 where applicable. This helps ensure mechanical and electrical parts withstand daily use and lower hazards.
For more detailed guidance on safe use, see power strip safety.
Avoiding Common Mistakes in Power Strip Placement
Small installation errors often lead to big electrical risks in busy rooms.
Overloading and daisy chaining: Do not daisy-chain multiple units into one outlet. That setup easily exceeds circuit limits and creates a serious fire hazard. Keep the number of devices per outlet within the product rating. If more outlets are required, add a properly installed outlet or a rated surge protector.
Overloading and Daisy Chaining
Tip: Check device wattage and compare to the unit rating before you connect several appliances. Avoid using extension cords as permanent solutions.
Proximity to Water and Heat
Place the unit away from sinks, humid areas, and heaters. Moisture and external heat raise the chance of failure and short circuits.
- Mount units off the floor using screws or adhesive options to avoid spills.
- Confirm weight limits and use wall anchors on drywall for heavier strips.
- Route cords so plugs stay cool and cables are not pinched by furniture.
Final step: plan the desk layout to keep outlets accessible and hazards low. Simple steps prevent most failures and protect devices in the home.
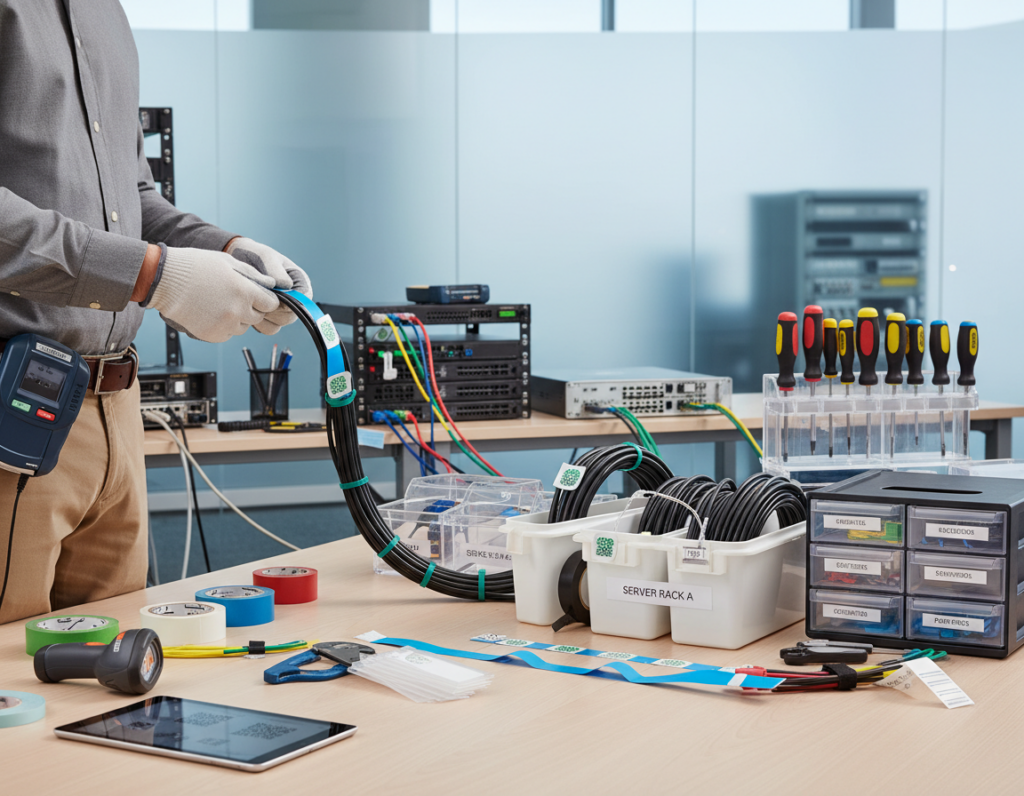
Specialized Solutions for Server Rack Setups
Critical IT equipment runs best when distribution units are engineered for reliability and easy service.
The NBYOSUN Rotated Hanger 240v server rack power strip is a product designed for high-density environments. It pairs a robust aluminum alloy housing with a switchless design to reduce accidental shutdowns in busy racks.
This unit includes eight German outlets and built-in overload protection to protect valuable devices. Customizable cable length helps keep runs neat and reduces strain on connections.
- Durable aluminum housing for long-term use in data centers.
- Switchless layout and overload protection for uninterrupted service.
- Eight German outlets to support multiple devices in one rack.
- Adjustable cable length to simplify rack cable management.
Choose a dedicated distribution unit to improve reliability and safety. Properly selected strips and PDUs streamline maintenance and lower downtime risk for mission-critical systems.
Regular Maintenance and Inspection Routines
Simple inspections reveal worn cables and loose plugs before they cause damage. A short check every six months keeps a desk area safe and functional.
Checking for Cord Wear and Connection Stability
Inspect cords and plugs for discoloration, fraying, or soft spots. If the plastic casing feels soft or looks discolored, that product shows signs of overheating and must be replaced immediately.
- Verify all plugs are firmly seated and that outlets are not loose on the wall or desk surface.
- Confirm mounting hardware—whether screws or adhesive—remains secure and that holes or marks have not widened.
- Check that cables are routed away from high-traffic areas and not pinched under furniture or a table.
- Ensure the unit is not overloaded; distribute devices across circuits when needed.
“A six-month inspection can catch small faults before they become hazards.”
Regular maintenance of your power strip and tidy cable runs protects devices and reduces fire risk in the home or work area.
Conclusion
Clear routing and secure fastenings help prevent failures and keep workflows uninterrupted.
Proper power strip desk planning is the foundation of a safe, efficient workspace. Choosing the right mounting method for a strip desk configuration cuts fire and wear risks.
Prioritize safety: calculate load limits, use certified equipment, and avoid overloading circuits. Regular inspections reveal loose plugs, worn cords, or weak mounts before they cause damage.
When in doubt, invest in professional installation and routine maintenance. Small effort now keeps the workspace productive and secure for years.