Make your video presence count. Achieving correct webcam placement is essential to look professional on every call. Small changes to your camera and angle can shift how people perceive you and your message.
Many people overlook simple fixes that improve the viewer experience. Spend a little time to set eye level and tidy the background. This effort reduces distractions and makes meetings feel intentional.
These expert tips will help you master basic setup. Focus on camera height, lighting, and framing so your virtual interactions match the care you put into in-person meetings. A polished feed builds trust and improves communication every time.
Why Your Current Video Setup Is Failing
If your video looks unpolished, odds are the gear and angle are working against you. Common errors in a camera setup make you look distant, shadowed, or off-center. Fixing them starts with understanding the most frequent mistakes.
The Impact of Unflattering Angles
Using a built-in laptop camera often creates a low, unflattering angle that casts 5 o’clock shadows and emphasizes the chin. This happens because many laptop lenses sit below eye level and struggle with high-contrast room lighting.
When the lens is too far away, your face fills only a few inches of the screen. That makes it hard for people to read expressions and engage with you.
Common Framing Mistakes
Placing a laptop on a stand beside external monitors can produce an off-angle view that feels detached. Multiple monitors sometimes complicate line-of-sight, so your camera points away from your face.
- Low camera height: makes you look dominant or shadowed.
- Too much distance: shrinks your presence on a small screen.
- Poor lens tech: built-in cameras often yield muddy, dark images.
Even though NBC proved high-quality field streaming was possible in 2007, many professionals still ignore framing basics. Finding a simple solution for your setup will improve how coworkers see you during today’s virtual meetings.
Mastering Proper Webcam Placement for Professional Results
Eye-level alignment turns a flat video feed into a natural conversation.
Set your camera so your eyes meet the lens. That simple change mimics face-to-face interaction and improves trust. If the lens sits too low, the angle captures the underside of your chin and looks unflattering.
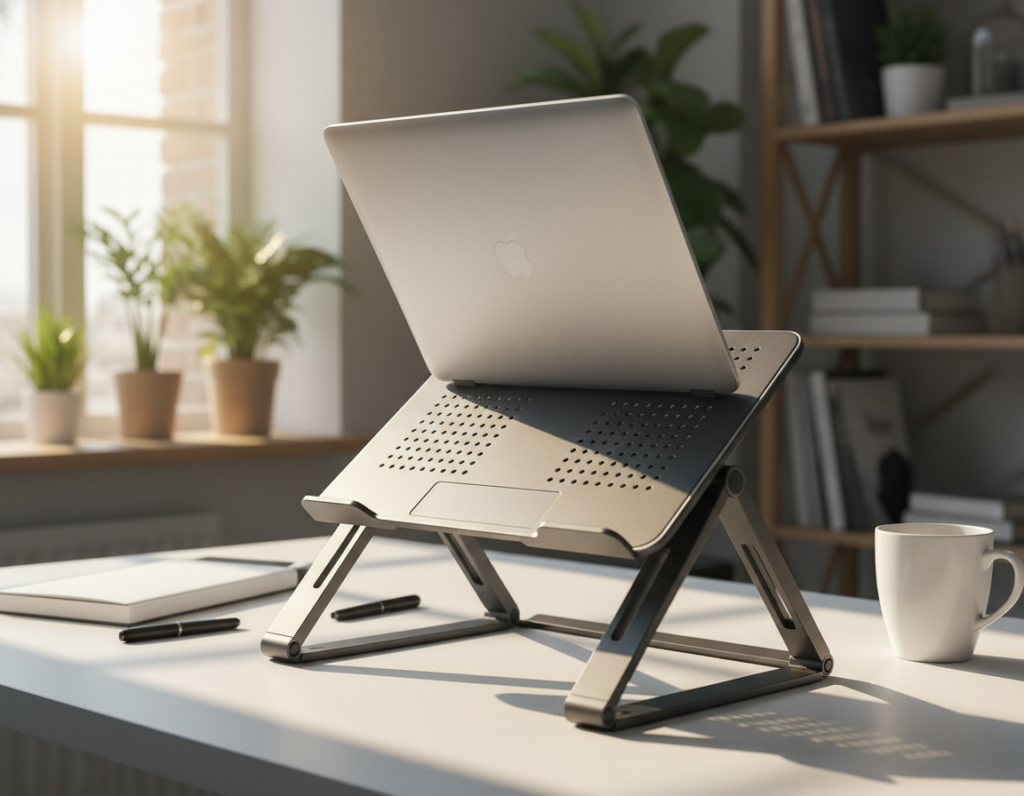
Use a stack of books or a small tripod to raise a laptop or USB webcam until it is at eye level. Mounting a camera on top of your monitor gives a steady connection and makes the experience feel more personal.
- Keep the lens at eye level: it creates natural engagement.
- Try an external usb webcam: it offers flexible positioning and better framing.
- Center the camera with multiple monitors: avoid constantly looking away from the lens.
“A small height fix often delivers the biggest visual improvement.”
For more detailed guidance on mastering your camera setup, see mastering your camera setup. These tips will work well across meetings and streaming scenarios.
The Critical Role of Lighting in Your Video Feed
Good lighting transforms a dull video into a clear, engaging conversation. Light controls mood, clarity, and how your audience reads facial expressions.
Avoiding Harsh Overhead Lights
Harsh overhead lights cast deep shadows and create an unflattering picture. Use soft, front-facing light to reduce chin shadows and even skin tones.
Positioning Your Light Sources
Place a diffused key light slightly above eye level and centered with your camera to keep your angle natural. A ring light can lift the face out of shadow when set correctly and not too close.
If you use two cameras, balance lights so both angles look consistent. A small tripod for lights helps you change height and position quickly and makes the setup work well in any room.
Managing Glare for Glasses Wearers
Move lights to the side and lower intensity to avoid glare on lenses. Avoid strong backlighting from windows; it creates a dark silhouette and ruins detail captured by the lens.
“Even small lighting tweaks often deliver the biggest visual improvement.”
- Tip: Diffused light helps the camera sensor capture more detail.
- Tip: Consider room size and reflective surfaces as key factors when positioning lights.
- Tip: Proper light placement matters as much as camera angle for a crisp picture.
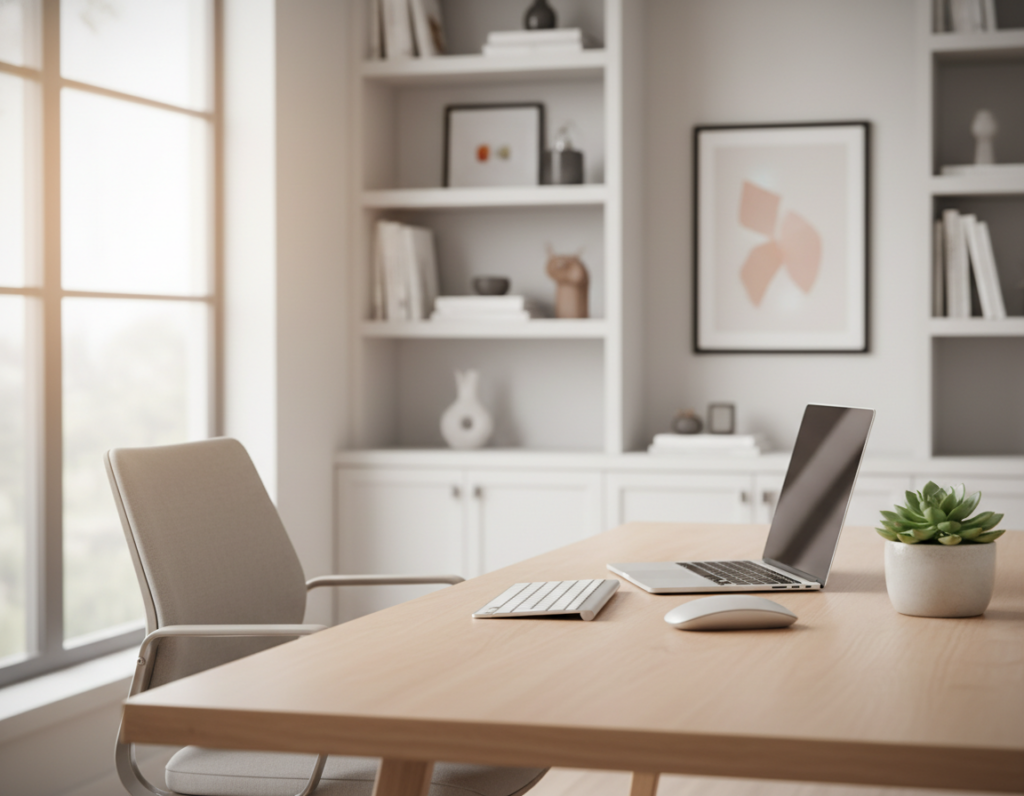
Optimizing Your Background and Framing
A tidy background and careful framing make your video feed feel deliberate and professional. Aim for a simple scene that supports your message and does not compete with it.
Creating a Distraction-Free Environment
Start with the basics: remove clutter, turn off busy screens, and choose a neutral wall or thoughtfully arranged shelves.
Keep your head and shoulders centered on the screen so the audience can read expressions easily. Avoid too much empty space above your head — it makes you look distant.
- Use a stack of books or a small tripod to raise your camera to eye level so your head is well framed.
- Top of your monitor is a reliable location for steady eye contact with colleagues during calls.
- Color and lighting factors: pick wall tones and lights that complement your skin and outfit to reduce distraction.
- Stable support: a tripod or mount prevents shaky video caused by unstable surfaces.
“A clean, intentional background helps people focus on your message, not your room.”
Virtual backgrounds work, but a neat real space often creates a more authentic experience. For quick, practical adjustments to camera, mic, and framing, try this concise guide: optimize camera, mic, and framing in 20.
Essential Hardware and Software Adjustments
Small hardware choices and quick software tweaks can lift your video quality instantly.
Start with an affordable external option. The Logitech C270 costs about $20–$30 and delivers a clear, reliable image that beats most built-in laptop cameras.
Use software to tweak brightness, contrast, and sharpness before upgrading gear. These changes often solve exposure problems without new tech.
- Tripod over luxury: a sturdy tripod gives steady framing and beats an unsupported device when light is limited.
- Two cameras: if you run multiple feeds, confirm your software switches between them smoothly.
- Monitor tip: an external monitor provides a solid top mount and a better angle for long-term use.
Manage cables and clear the background. A tidy space reduces distractions and improves your connection with the audience.
“An inexpensive usb webcam and a few software tweaks often work well as a practical solution.”
Conclusion: Elevating Your Virtual Presence
Simple setup edits help your video feed reflect the professionalism you bring to meetings.
Focus on three things: light, framing, and camera height. Small changes to your webcam placement and scene will make a big difference for the people on the call. These practical tips improve clarity and keep the audience engaged.
Over the last few years, high-quality video communication has become essential. Take the time now to tidy your room, test your hardware, and practice with your software. That time pays off when your experience feels polished and reliable.
Make small adjustments regularly. With a few minutes of prep, your calls will feel clearer, more confident, and more professional to colleagues and clients alike.