Stephen Robles, a tech video and podcast creator with over 15 years of experience, shows how a tidy broadcast space is within reach. He says you do not need to spend thousands on equipment to achieve high quality audio and video for live streaming.
Focus on four pillars: audio quality, video quality, reliable streaming software, and a stable internet connection. A laptop or desktop often serves as a solid source for your first stream. Free tools like OBS Studio can keep audio video output clear and professional without added price.
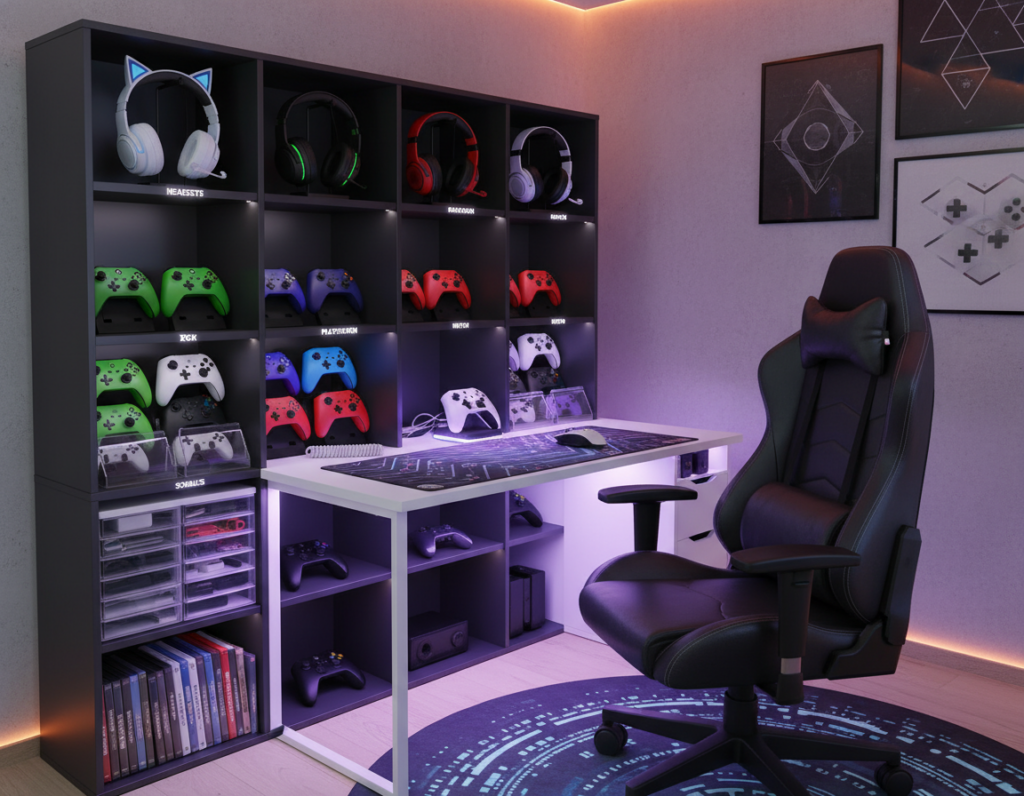
Create a dedicated area to keep gear organized and reduce noise. Even in a small room, a ring light and a basic webcam or mic go a long way. Consistency in your setup helps build authority with viewers across platforms and time.
This guide outlines practical ways to arrange gear, manage features, and make sure connection and sound stay reliable as content grows.
Assessing Your Current Streaming Space
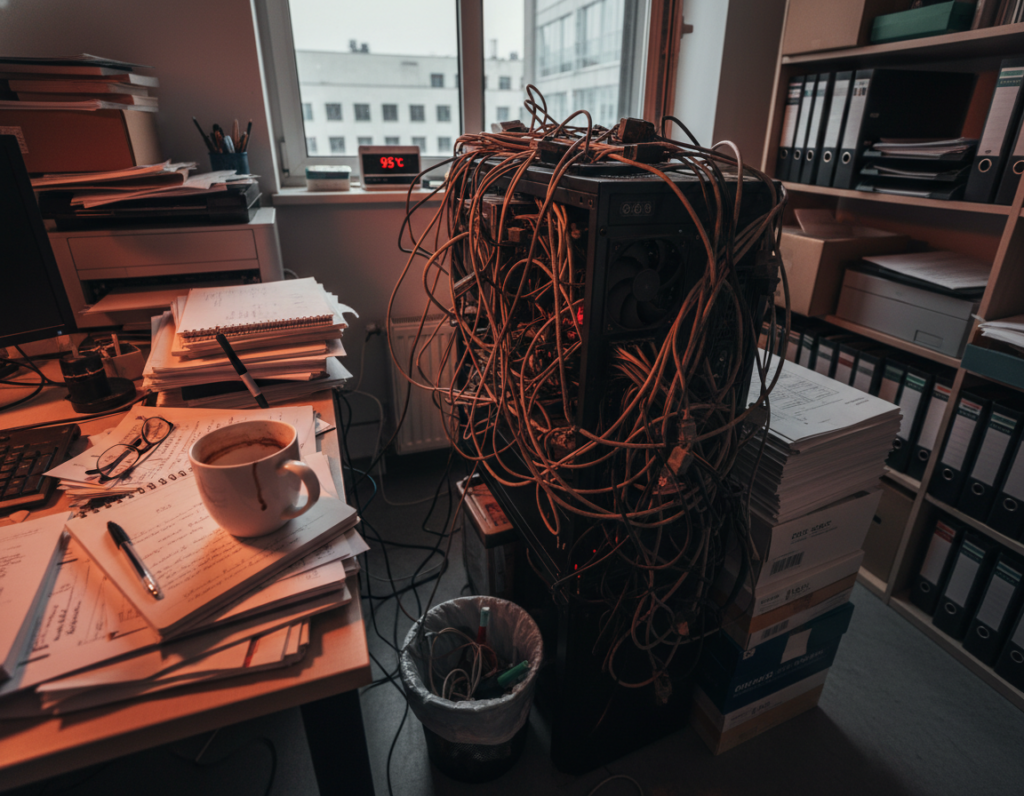
Start with a quick audit of the room to find distractions and echoes that hurt production. A brief walk-through helps determine whether the existing computer can handle the processing load before any purchase.
Check the floor and walls. Mark Denney, a photography YouTuber, shows that rugs and towels absorb reflections and improve audio. Soft furnishings cut echo and raise perceived sound quality.
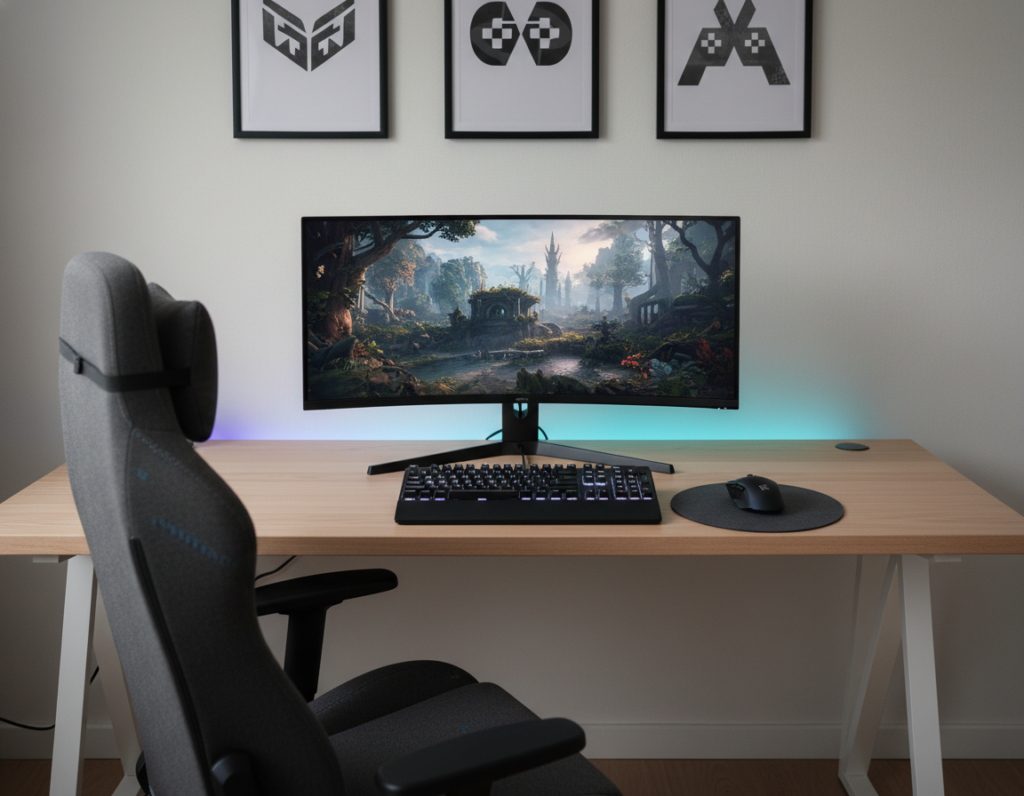
Look at the background. Make sure nothing distracts viewers and that lighting is even for video. Consider the room layout to confirm space for a microphone arm or a tripod.
Assessing the area early uncovers potential problems with echo or background noise. Fixing these issues is often cheaper than upgrading hardware.
A tidy, well-organized setup lets creators focus on content and the live stream itself rather than technical failures.
“Use rugs and towels to dampen echoes on hard floors,” — Mark Denney
- Verify computer performance before buying upgrades.
- Use soft materials to tame reflections and improve audio.
- Arrange background and lighting so they support the content.
Optimizing Your Small Streaming Setup
Choosing the right hardware and layout helps creators get consistent audio and video from a limited room. A clear plan makes the difference between jittery streams and reliable broadcasts.
Desktop versus Laptop Considerations
Portability vs. power: A Razer Blade 15 laptop is a strong option if mobility matters. It packs an 8th Gen Intel Core i7 and 16 GB of RAM for on-the-go use.
The Dell G5 desktop, with an NVIDIA GeForce RTX 3060 and 16 GB DDR4, gives extra GPU power for gaming and high-quality encoding. Many streamers pick a desktop for easier upgrades.
Essential Hardware for Limited Spaces
Pick compact equipment that saves desk room. A clip-on webcam and a compact microphone arm preserve surface area and reduce clutter.
Include a capture card when you need console or multi-camera input. Confirm that your chosen streaming software matches your computer’s CPU and GPU so live streaming runs smoothly.
“Always verify platform minimums so streams stay stable during broadcasts.”
- Balance price and performance to fit your budget.
- Choose equipment that supports upgrade paths.
- Test audio and video before going live to catch issues early.
Selecting the Right Microphone for Clear Audio
Good audio starts with picking a mic that matches the room and the creator’s needs. Choosing between dynamic and condenser types depends on how much background noise the space has and the desired sound character.
Cardioid polar patterns reject sounds from the rear and sides. This makes them ideal for live streaming where background noise can be a problem. The Blue Yeti Nano is a popular beginner microphone at $99.99 and offers a cardioid option that improves spoken clarity.
The Shure MV7 sits higher in price at $249.00. It is a dynamic mic and supports both USB and XLR. That flexibility helps creators move from USB-only to professional interfaces later.
“A good microphone setup is vital because audiences are more likely to forgive poor video quality than they are to tolerate bad audio.”
- Use a microphone arm to keep the mic steady and the desk clear.
- Match mic type to room acoustics to cut noise and boost voice presence.
- Consider price and future upgrades when buying equipment for live streaming.
Managing Your Streaming Environment and Acoustics
Treat the room itself as an active part of the broadcast by controlling reflections, light, and background noise.
Absorb stray sound. Soft textiles like rugs, curtains, and towels reduce echo on hard floors and cut reverberation. Place them where reflections bounce most, such as opposite the microphone.
Position light thoughtfully. A simple lamp behind the camera adds depth and separates the subject from the background. Balanced lighting improves perceived video quality and keeps the frame consistent across streams.
Protect the connection. A steady internet link ensures the high-quality audio and video reach viewers without drops. Test upload speeds and consider a wired connection when possible.
- Use furniture or acoustic panels to block and dampen reflections.
- Keep the microphone on a fixed mount to reduce handling noise.
- Create a repeatable lighting and sound routine to build brand consistency.
“Effective environment management turns basic gear into a professional presentation.”
Choosing a Camera for High Quality Video
A camera choice can lift perceived production value faster than most other purchases. Prioritize devices that match your budget and the type of content you plan to record.
Smartphone Options
Many creators begin with a phone because modern devices capture excellent video with minimal gear. A tripod and clean lighting improve results quickly.
External Webcams
Webcam options like the Razer Kiyo offer a low-cost path to better video. The Kiyo is priced at $79.99 and includes an integrated ring light to help face illumination.
DSLR Integration
For cinematic quality, a mirrorless or DSLR is the top choice. The Sony A7 IV delivers professional results at $2,498.00.
Use a capture card to feed the camera into streaming software and your computer. Always mount the camera on a stable tripod to keep video steady during long sessions.
- Budget option: phone or basic webcam to start live streaming without big cost.
- Mid option: Razer Kiyo for improved light and clarity at a low price.
- Pro option: Sony A7 IV via capture card for cinematic videos.
“Proper camera placement and settings ensure viewers see you clearly and help build a stronger connection.”
Implementing Effective Lighting Techniques
Choosing the right light sources makes the camera work less and the image look better.
Start with affordable options: the MOUNTDOG Softbox Lighting Kit at $79.49 gives an adjustable stand and remote control. It brings even light that cuts grain and helps the camera capture cleaner video.
For a pro upgrade: the Elgato Key Light at $199.99 provides app control and color temperature adjustments. That lets creators match room tones and protect skin tones on camera.
A simple two-light arrangement—one main source in front and a lamp behind the subject—adds depth and reduces noise in the image. Natural light from a window can serve as the primary source when available, avoiding extra price.
Good lighting also benefits audio and mic placement by removing the need to push ISO or digital gain on the camera. When the sensor performs well, the video and overall production quality improve.
Proper light choices raise perceived production value without breaking the budget.
- Budget tool: MOUNTDOG Softbox Kit for even, affordable light.
- Pro tool: Elgato Key Light for precise color control.
- Technique: two-source lighting plus natural window light when possible.
Configuring Your Internet Connection for Stability
Consistent bandwidth is the often-overlooked factor that shapes viewer experience more than fancy gear.
Minimum speeds: For a stable 720p live streaming broadcast, a minimum upload speed of 4 Mbps is required. For 1080p at 60fps, aim for at least 10 Mbps.
Test regularly. Run speed checks before a session to confirm your internet connection can hold the target bitrate for the full stream. This helps the streaming software maintain steady audio and video quality.
Where possible, use a wired Ethernet connection. A wired connection delivers more consistent throughput and fewer drops than Wi‑Fi. That reduces buffering and keeps viewers watching.
- Ask your ISP if they can consistently deliver the advertised upload speeds for your chosen resolution.
- Prioritize the connection over extra equipment when budget is tight; a solid link benefits camera, microphone, and lighting performance on stream.
- Monitor streams for packet loss and spikes so you can tweak software features and bitrate in real time.
“A reliable internet connection prevents buffering and lets creators focus on content, not connection troubles.”
Utilizing Professional Streaming Software
Professional encoder tools let creators shape how audio and video reach their audience. Choosing the right software gives direct control over scenes, levels, and noise suppression.
Mastering OBS Studio
OBS Studio is a free, open-source encoder that captures and mixes in real time. It lets users add overlays, transitions, and sources such as a camera, microphone, or screen capture in one interface.
Streamers can set audio filters to reduce background noise and normalize levels so the sound stays consistent across streams. The software supports custom scenes for quick switches during gaming or presentation content.
- Capture multiple inputs and route them without extra equipment.
- Use noise suppression and gain controls to improve perceived quality.
- Create reusable scenes and transitions to build a consistent brand.
“Mastering your streaming software is a key step in building a professional brand.”
For a practical example of a live studio layout and how software integrates with gear, see a useful live streaming studio example.
Monetizing Your Content Through Memberships
Membership tiers turn casual viewers into committed supporters while giving creators steady income.
Placing select live streaming broadcasts and archived content behind a paywall creates recurring revenue. Members pay for access, and that predictable cash flow helps plan production and growth.
A paid community also builds loyalty. Members often provide feedback, attend exclusive events, and share referrals. That engagement fuels long-term audience growth and brand value.
Revenue from memberships funds better equipment, improved audio and video quality, and occasional upgrades without seeking outside financing. Even modest monthly fees add up and cover recurring costs.
“Memberships give creators control over distribution and the freedom to invest in higher-quality content.”
- Control: Own your branded platform and audience data.
- Stability: Predictable income to pay for gear and platform costs.
- Engagement: Exclusive perks deepen member loyalty.
Conclusion
The path to better live streaming is clear: focus on the essentials and refine them over time. Consistency, , and small, steady upgrades to microphone, camera, lighting, and software deliver the biggest gains.
This guide shows a practical way to balance price and performance. With a reliable internet connection and the right capture card or webcam, streamers can make professional videos without excessive equipment cost.
Keep testing and iterating. By prioritizing audio, video, and stable software, creators will grow platforms and keep viewers engaged across streams and videos.